How to choose your first data science project
Whether you are a data scientist now, or you aspire to be, you certainly have a history of having fun with data science projects. When the number of projects that you have increased, there are important steps that you need to take to ensure that these projects don't clash.
What you don't think about
Imagine you have two tasks to work on. The first is something that you cloned from a directory at GitHub. Uses TensorFlow 1.0, 0.17 pandas, and 3.5 python. You install these and you work on your idea, everything goes smoothly.
Now you launch your second project. TensorFlow 2.0, pandas 1.0, and Python 3.7 are used in this one. The problem here is that if all of this software is installed it will destroy your previous project, which relies on the older versions.
Solution to above
You will need a virtual environment to overcome this problem. A virtual environment will help you separate your project software so that your work in one environment won't affect your work in another. Most data science projects will start by building a virtual environment. Luckily Anaconda's very easy to do. If you have not already installed Anaconda, I would suggest that you do so now, as it is one of the most popular data science platforms and supports VS Code, RStudio, Jupyter Notebooks, and Spyder. I'll walk you through the development and management of virtual environments via the Anaconda interface and the command line.
A basic walkthrough of the app
Applications that come with Anaconda including some of the popular data science IDEs. You'll need to install these applications for each virtual environment you build to use them. If the button is installed below it will turn from "Install" in green to "Start" in blue.
By default, you are working in an environment called the base. You will note something above the applications which say "Applications on" followed by a drop-down menu. From this drop-down menu, you can pick any environment that you have built.
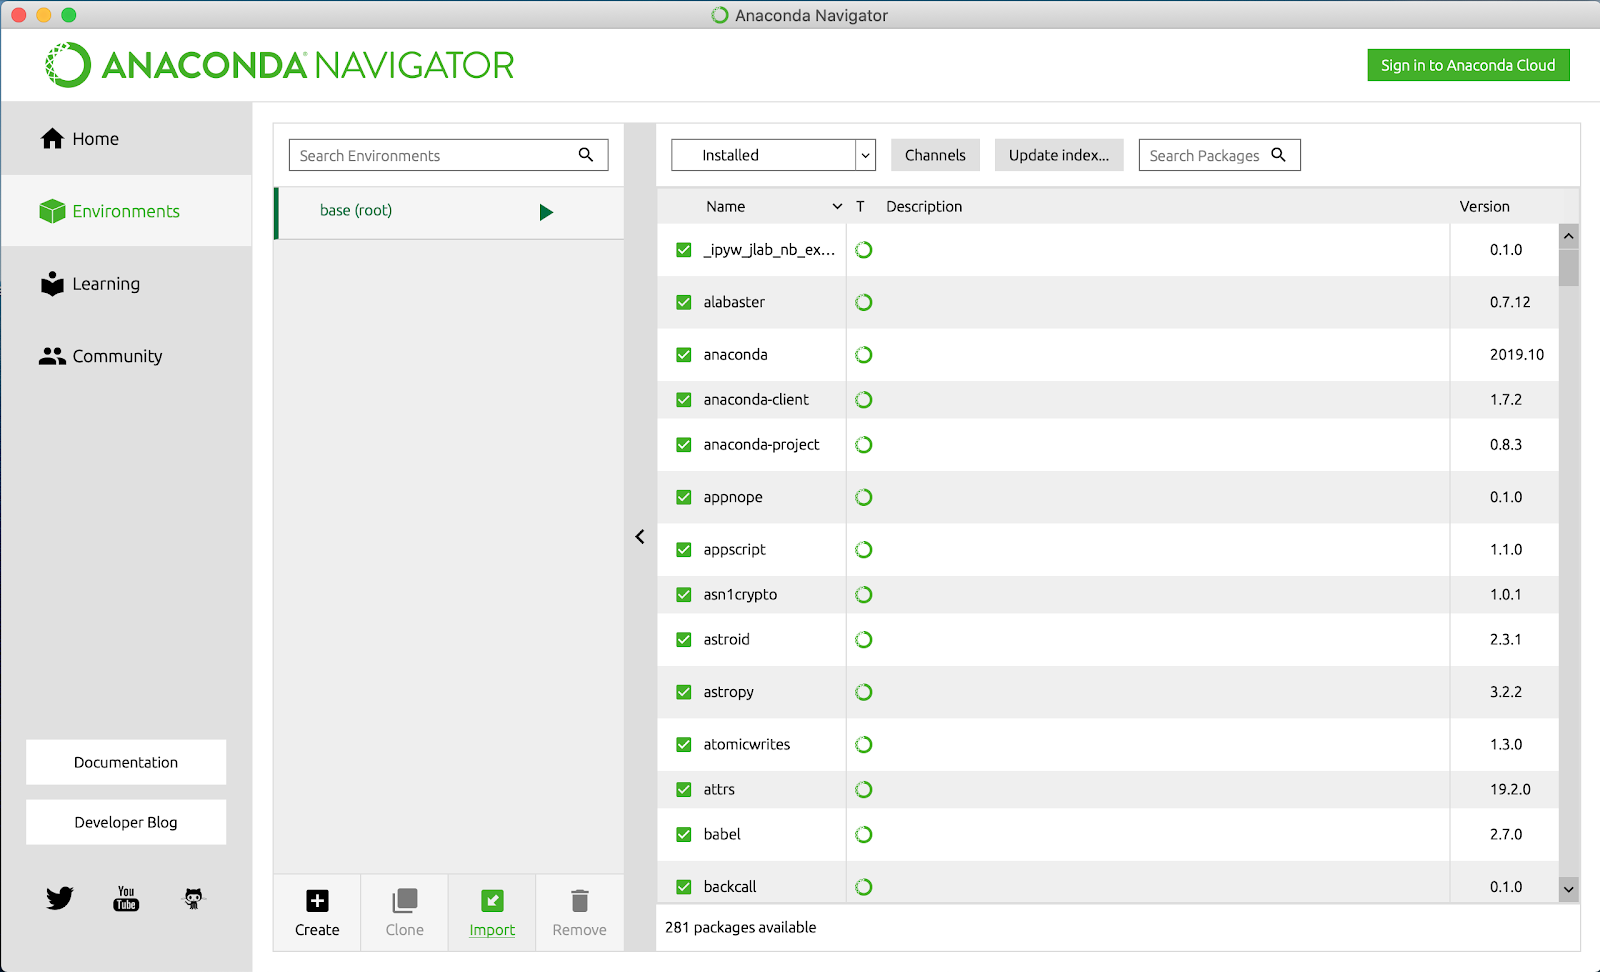
Here we see a list of environments, for now, mine only has a base. We have 4 choices available for us at the bottom of the page.
Create: Used for environment building.
Clone: For copying an environment.
Import: Used to bring in the environment of another.
Remove: Used when removing an environment.
I would suggest that you create an environment for almost every project you make and that you name the environment after that project.
This is the basics of using virtual environments. This will ideally prevent your projects from colliding with each other. You can further get hands-on it after downloading it.